I work a lot with Azure and Azure DevOps and just for the record, I still love Azure DevOps! Even though I don’t think Azure DevOps will suddenly disappear. I do think the future is in GitHub. I was asked to host a workshop about GitHub and Azure for a group of professionals. This made me do a lot of comparisons between Azure DevOps and GitHub from the non-open-source perspective. One of the topics really made me want to write a post, maybe I’m a bit weird to get excited about this but I just love the GitHub OIDC option to deploy to Azure.
Deploying to Azure
Lets say you want to build an app and deploy it to Azure with GitHub Actions. There are multiple ways to do that, from an Azure DevOps perspective you might be used to setup a Service Connection to your Azure Subscription or maybe to a resource group. In GitHub there is a similar construction to do this, you can create a service principle and generate a secret in Azure and copy the necessary context over to the GitHub repository’s secrets. Some of the drawbacks of having an actual password-like secret are that you need to pass the secret around, it can be used from everywhere and that the secret expires.
The proper way
There is a slightly different way that does not use an actual secret but it builds a trust with your repository so that the token credential can be generated when your GitHub Action is running. This setup is called: OpenID Connect with an Azure service principal using a Federated Identity Credential. The idea behind this is that on one side you have an App Registration with a the permissions to access a resource group or subscription. On the other side you have a GitHub Action that requests a token only using the ApplicationClientId, TenantId and SubscriptionId. The access token will only be shortly available while running a job.

But how does Azure decide to supply that token with just three guids and without some kind of real secret?
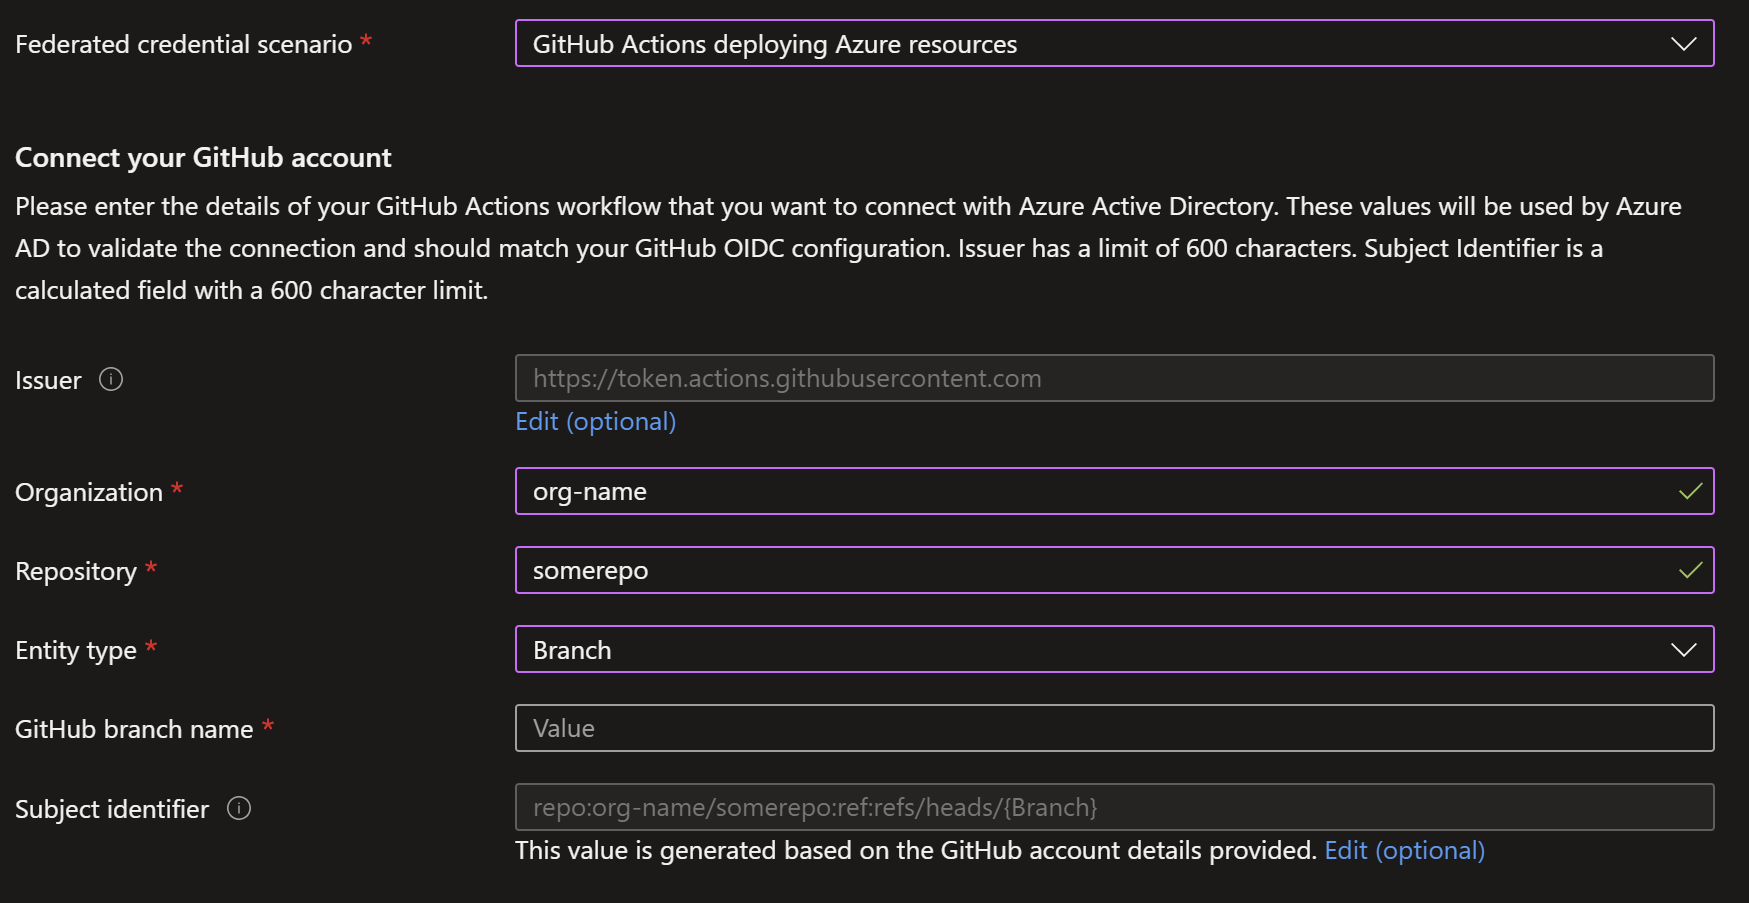
What needs to be done is telling Azure that GitHub will ask for a token from an Action in a specific repository. For this we use something called Federated Identity Credential, this FIC is created in under an App registration in Azure and defines a direct trust between itself and the GitHub Action’s Repo that will request a token. There are four different contexts (Entity Type) that you can define it is allowed to retrieve the token.
The first and most obvious is branch, per federated credential you can define a branch name that is allowed to use the fic. The next ones are pull request and tag and you can imagine when you would use that. The third and I think most powerful is environment, environments are an excellent way to do gated deployment and they can have their own secrets.
What are the steps?
1. Create an app registration
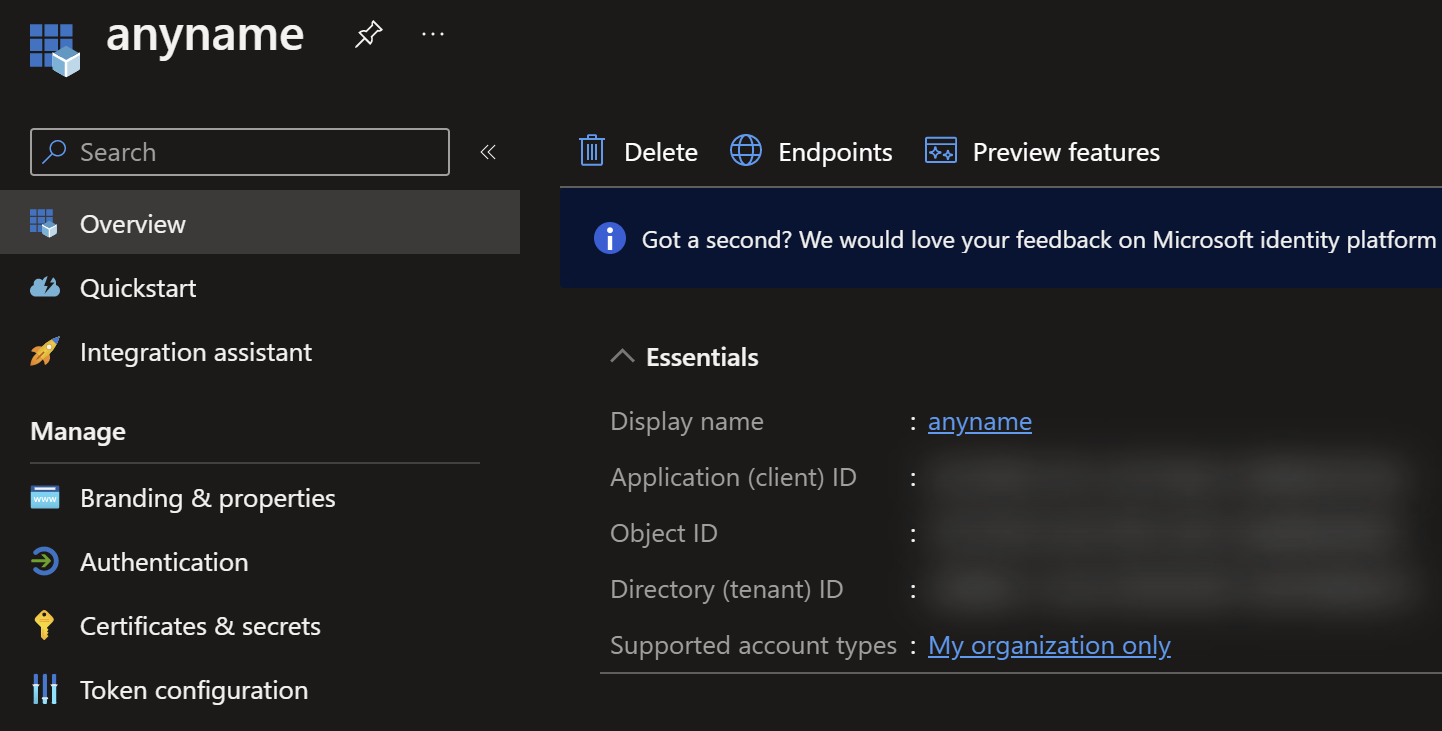
For this, go to Azure Active Directory in the Azure Portal and click ‘App registrations’. Create a new app registration, fill in a name and click register. You will land on a screen, from this screen copy the Application (client) ID and the Directory (tenant) ID and put them in document to use in step 4.

2. Set Azure permissions for the app registration
In this step you will determine to what resources in Azure your Action will have permissions. For instance you can go to a resource group and click Access control (IAM), from there you can add a role assignment and add your newly created app registration as a member.
3. Add Federated Credentials for GitHub
Now we need to put your GitHub repo on the guest list. For this we return to you app registration and click Certificates & Secrets, from there you select Federated Credentials and click add. You will be confronted with a drop down, in that you can find: GitHub Actions deploying Azure resources. You should be able to fill in the rest of the form and press add.

4. Copy some guids
In your Action you need to provide 3 ids to login, even though these are not passwords it is best to use GitHub Secrets and not put them directly in code. You need the create following secrets: AZURE_CLIENT_ID (this is the Application (client) ID from the app registration), AZURE_TENANT_ID, and AZURE_SUBSCRIPTION_ID.

5. Create a workflow that requests a token
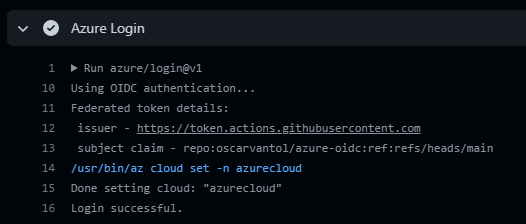
In the following example you will find an Azure login step and some cli command, the login step will acquire the token. Make sure you also include the ‘permissions’ block in there!
name: Example
on:
  workflow_dispatch:

permissions:
  id-token: write
  contents: read

jobs:
  job1:
    runs-on: ubuntu-latest
    steps:
      - uses: actions/checkout@v3
      #get a token
      - name: Azure Login
        uses: azure/login@v1
        with:
           client-id: ${{ secrets.AZURE_CLIENT_ID }}
           tenant-id: ${{ secrets.AZURE_TENANT_ID }}
           subscription-id: ${{ secrets.AZURE_SUBSCRIPTION_ID }}
      # run a bicep deployment
      - name: run IaC
        uses: azure/CLI@v1
        with:
          inlineScript: |
            az deployment group create -g somegroup -f app-service.bicep
6. Fix your indentation in the yaml file and try again
Some lucky people can skip this step ;)
Next steps
After getting this to work you have the ingredients for success. This example just lets you login and shows you how to run an az command, with this you can run IaC and do deployments . Please be aware if you are making a multi step workflow that the jobs are running completely isolated, so if you need the token in two jobs you need to run the login step in both.
References
- Use GitHub Actions to connect to Azure
- Video coming soon